Gua sha and the art of moving what is stuck
An ancient scraping practice used across East Asia for centuries. Oil, a smooth tool, deliberate direction. And a way of releasing tension that reaches deeper than hands alone can go.
A patient came in holding her neck like something fragile. Three months of tension that physio had not shifted. She mentioned, almost as an aside, that her grandmother had always used a ceramic spoon on her back when she was a child. She had not thought of it in years.
That tool her grandmother used was a gua sha tool. The practice is thousands of years old. It has been used across China, Vietnam, Korea, and much of East and Southeast Asia not as a treatment for specific conditions but as everyday maintenance: something you did when the body felt blocked, heavy, or in pain. Not a medical procedure. A household practice.
The name breaks down simply. Gua (刮) means to scrape. Sha (痧) refers to the redness, the millet-like rash that appears on the skin surface during and after the technique. Traditional Chinese medicine interprets this as the release of stagnant qi and blood. Western sports medicine and fascial research interpret it as controlled microtrauma that accelerates tissue perfusion, breaks up adhesions, and triggers a measurable anti-inflammatory response. Both are describing the same thing. One framework is several thousand years older than the other.
This piece covers what gua sha actually does to tissue, which oil you need and why it is not optional, the correct direction for every area of the body, a complete six-area home routine, and the precautions that genuinely matter.
What gua sha actually does to tissue
When the tool is pressed firmly against oiled skin and drawn in a deliberate stroke, it creates a shearing force on the superficial fascia. Fascia is the connective tissue matrix that wraps every muscle, nerve, and organ. Under conditions of chronic tension, inflammation, or inactivity, fascial layers thicken, dehydrate, and develop adhesions: areas where they stick to adjacent layers rather than gliding freely.
The controlled pressure of gua sha disrupts these adhesions. It also creates a hydraulic pumping effect on the capillaries below the skin surface, drawing stagnant blood and metabolic waste products upward. This is what produces the sha: those reddish or purplish marks that appear on the skin. Research from Harvard Medical School found that gua sha elevates heme oxygenase-1 in the treated tissue significantly, an enzyme with potent anti-inflammatory and cytoprotective effects. The same study found these elevated levels persisted for several days following a single session.
The sha is also diagnostic. Bright red sha indicates reasonably fresh, well-oxygenated circulation being brought to the surface. Dark red, purple, or brown sha indicates older, more stagnant blood: tissue that has been poorly perfused for longer. Areas that produce darker sha typically correspond to areas of greater chronic tension. As you practise consistently, the sha in those areas lightens over time. This is not cosmetic. It reflects genuine improvement in tissue perfusion.
A bruise results from blunt trauma rupturing blood vessels. The sha results from controlled extravasation: stagnant blood moving from deep tissue to the skin surface where it can be cleared by the lymphatic and capillary system. It fades completely within two to four days and should not be painful to the touch once the tool is removed. If it is tender after the session, you pressed too hard.
Oil: not optional, and which ones to use
The tool cannot do its work against dry skin. Without oil, the edge catches, drags, and abrades the surface rather than gliding through the superficial fascia. The oil creates the interface that allows deep, controlled pressure without surface damage. Apply enough to create a visible sheen before beginning each area. Reapply whenever the tool starts to feel like it is catching.
Sesame oil
The classic choice in Chinese medicine practice. Warm, slightly viscous, ideal viscosity for gua sha. Contains anti-inflammatory compounds. Suitable for all skin types.
Jojoba
Technically a wax ester, not an oil, which makes it extremely stable and non-comedogenic. Light feel, excellent glide, suitable for face and body. Does not go rancid.
Coconut oil
Widely available and skin-safe. Melts on contact with skin. Reasonable glide but lighter than sesame. Works well on the body; can be comedogenic on the face for some people.
Sweet almond
Light, neutral, and well-tolerated by sensitive skin. Good for face work. Slightly thinner than jojoba, so you may need to reapply more frequently during a session.
Avoid heavy creams, body butters, or thick lotions. They create too much resistance and reduce the depth of the technique. Avoid synthetic oils or anything with added fragrance for face work.
Direction is not a detail. Scraping the wrong way pushes fluid away from where it needs to go. Every stroke should move toward a lymph node cluster.
Direction: where to scrape and which way
This is the area where most self-taught gua sha practice goes wrong. Direction matters. Every stroke should move toward the nearest major lymph node cluster, which allows the debris mobilised by the scraping to drain efficiently. Strokes in the wrong direction work against lymph flow and reduce the effectiveness of the technique.
The routine: six areas, fifteen minutes
This sequence follows anatomical logic: it begins at the neck and works downward, clearing each lymph node cluster in order before moving to the next region. You can do the full routine or choose the areas most relevant to you. If you are new to gua sha, begin with the neck and upper back only and add areas progressively over several sessions.
Apply oil to one area before beginning that section. Do not apply oil to the entire body at once; it gets absorbed before you reach each area.
Neck and upper trapezius
Begin with the neck. Apply oil to one side. Hold the tool at roughly 30 to 45 degrees to the skin surface; a shallower angle produces more superficial work, steeper goes deeper. Stroke downward from the base of the skull to the collarbone in long, deliberate passes. Repeat six to eight strokes per section before moving laterally. Work from the centreline to the shoulder on one side, then repeat on the other. The upper trapezius, from the back of the neck to the shoulder point, is where most people carry significant chronic tension. Do not rush this area.
Upper back and shoulder blades
Apply oil to the upper back. Stroke downward and outward from the spine toward the armpit, following the line of the ribs. Work from the top of the thoracic spine (between the shoulder blades) downward. Give particular attention to the area between the medial border of the shoulder blade and the spine: the rhomboid and mid-trapezius region that carries the load of forward head posture and desk work. Stroke from the spine outward toward the armpit in the direction the ribs run.
Lower back
Apply oil to the lower back. Work the paraspinal muscles on either side of the lumbar spine, stroking downward toward the sacrum. Use moderately firm pressure here: the tissue is substantially thicker than the neck and needs more contact to reach the deeper layers. If you have a confirmed disc condition, keep pressure moderate and avoid the area directly over any painful segment. Stroke from the mid-back downward to the top of the iliac crest.
Arms
Apply oil to one arm. Stroke from the wrist to the elbow along the forearm, covering the top, bottom, and both sides. Then from the elbow to the shoulder along the upper arm. Give extra attention to the inner upper arm if you carry tension there. The strokes always move upward toward the armpit. Light to moderate pressure; the forearm has relatively little tissue between skin and bone, so heavy pressure is neither necessary nor comfortable.
Legs
Apply oil to one leg. Begin at the ankle and stroke upward along the calf to the back of the knee. Then from the knee up the back and outer thigh to the hip. Turn to work the inner thigh: stroke upward from the knee to the groin in long passes. The inner thigh is often tender because the inguinal nodes there are receiving drainage from the whole lower limb. Tenderness here is normal and should reduce with consistent practice. Finish with several light strokes into the hollow behind the knee.
Face
Use a smaller facial tool if you have one, or the rounded end of your standard tool. Apply a small amount of jojoba or sweet almond to one section at a time. Stroke outward along the forehead, outward along the cheekbones, and outward and then downward along the jaw to the collarbone. The pressure is genuinely light: the weight of the tool on the skin is often sufficient. Face gua sha done too firmly causes capillary damage rather than the beneficial extravasation of body work. After the session, finish with five slow diaphragmatic breaths to activate the thoracic duct and move mobilised fluid into central circulation.
After your session
Drink a full glass of water immediately after. The mobilised fluid and metabolic waste now moving through your lymphatic system benefits from good hydration to clear efficiently. Avoid a hot shower or sauna for at least four hours after the session; the tissue has been stimulated and heat will cause excessive vasodilation on top of already active circulation.
The sha will appear within minutes and may darken slightly over the following hour before beginning to fade. It should be completely gone within two to four days. If an area produces sha that takes longer than five days to clear, reduce your pressure in that region next time.
Most people feel a sense of spaciousness and reduced tension immediately after a session. Some feel briefly tired, particularly after their first few sessions, as the lymphatic system processes the load. This is normal and resolves within a few hours. Practise once or twice a week for maintenance, or more frequently during periods of high stress or after heavy physical work.
Precautions: when not to use gua sha
Gua sha is safe for most healthy adults when performed with appropriate pressure and correct technique. The following situations require caution or avoidance:
- Broken, inflamed, or infected skin. Do not work over open wounds, active rashes, eczema flares, psoriasis plaques, sunburn, or any area of active infection. Wait until the skin has fully healed.
- Varicose or spider veins. The pressure and shearing force can damage already-compromised vein walls. Work around these areas, not over them.
- Blood-thinning medication. Anticoagulants (warfarin, heparin, direct oral anticoagulants) and high-dose aspirin affect the body's ability to control extravasation. Gua sha can cause excessive bruising and uncontrolled bleeding in the tissue. Consult your prescribing doctor before beginning.
- Active blood clots or clotting disorders. Any diagnosed coagulation disorder or known clot is a contraindication. Do not practise.
- Over bony prominences. Do not scrape directly over vertebrae, the sacrum, the iliac crest, or any bony surface with heavy pressure. Work the soft tissue alongside and between these structures.
- Pregnancy. Avoid the lower back, abdomen, and the specific acupressure points on the inner leg (spleen 6, located above the ankle on the inner calf) which are associated with uterine stimulation. Face and upper back work is generally considered safe but check with your midwife or obstetrician.
- Active cancer. The stimulation of lymphatic flow can mobilise cancer cells. Do not practise gua sha without discussing it with your oncologist.
- Undiagnosed lumps, swelling, or tenderness. If you find an area of unexplained swelling or a lump during your session, do not work over it. Have it assessed before continuing.
- Recent surgery. Wait until surgical wounds are fully healed and cleared by your surgeon before working the area.
The pressure should never be painful during the stroke. If it is, lighten immediately. The sha can look dramatic, but the practice itself should feel like firm pressure, not pain. If any area becomes persistently sore, swollen, or does not clear within five days, reduce your pressure and frequency, or consult a practitioner.
Where is tension holding in your body?
Chronic tension accumulates in predictable patterns, shaped by posture, stress, and how we move through the day. This assessment helps you identify your primary holding areas and understand which parts of the gua sha routine are most relevant to you right now.
What to use for gua sha at home
Any smooth-edged tool works. Traditional choices are jade, rose quartz, bian stone, or buffalo horn. A ceramic soup spoon from your kitchen is a perfectly legitimate starting point. For body work specifically, stainless steel has a practical advantage: it holds temperature, cleans easily, and its weight provides natural pressure so you do not have to push hard. One tool can cover face and body both.
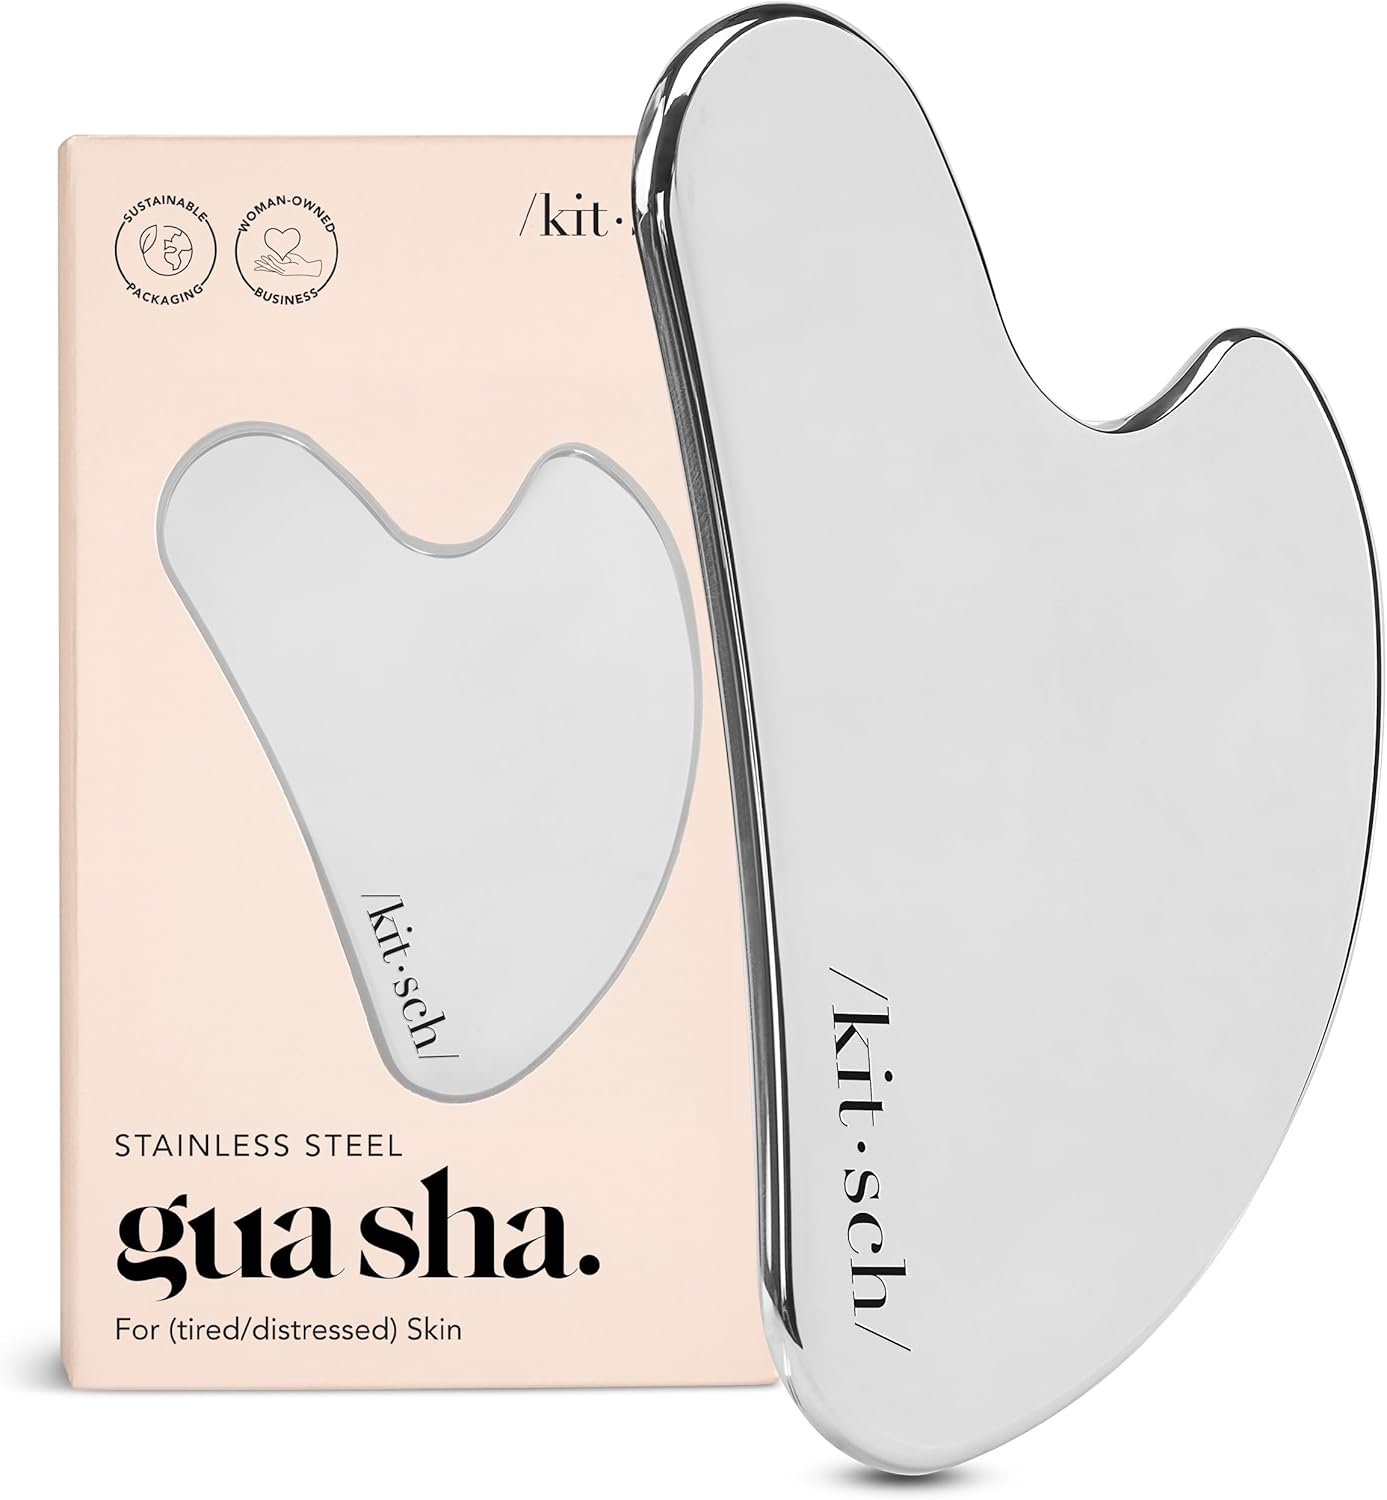
Stainless steel gua sha tool
This is the tool I recommend for body work. The weight does the work so you are not forcing pressure, and the contoured notch on the upper edge fits the neck and shoulder line cleanly. The broad flat face covers the back, legs, and chest without needing to reposition constantly.
Hygienic, durable, and the only tool you need to start. Suitable for face and body.
View on Amazon →See you next Sunday,
Stephen
selfcaresunday.org